Map Upload Guide
Follow these steps to upload your custom map successfully:
-
Prepare Your Map:
- Include one
MyMapName.mapfile along with required assets (map.xml,MyMapName_art.tga). - Ensure filenames and formats comply with Kane’s Wrath standards. See the screenshot below for the required files.

- Include one
-
Select an Upload Method:
- Drag and drop your folder, files, or ZIP file into the designated area.
- Alternatively, use the Select Upload button to choose files manually.
-
Start the Upload:
- Confirm your files and click the Upload button.
- The website will alert you to any mistakes or missing files, so feel free to try out different uploads.
-
Verify Map Details:
- After upload, review metadata such as dimensions, player count, and descriptions.
- You always have full control to edit, delete, or update the map.
- Press the Windows logo button (⊞ Win).
- Type AppData into the search field and select the AppData folder.
- Navigate to Roaming > Command & Conquer 3 Kane’s Wrath > Maps.
- Place your custom map folder into the Maps directory.
-
Your folder structure should look similar to:
Roaming > Command & Conquer 3 Kane’s Wrath > Maps > MyMapName > MyMapName.map - You can now play your custom map in skirmish or online.
Make your own minimap:
Go to [File] → [Save As] and save with a name similar to your original, appending something like “minimap” to indicate this file will be used for the minimap.
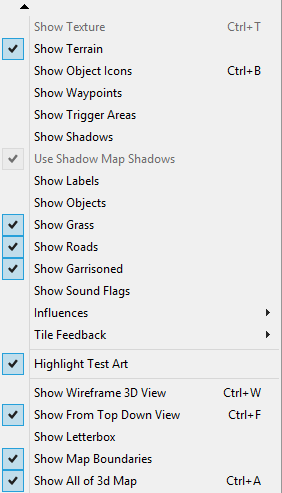
First, go to your [Post Effects] and remove them all. Then, under [View], copy the settings (adjust [Visible] instead of [Not visible]).

Also, make sure to [Show Water].
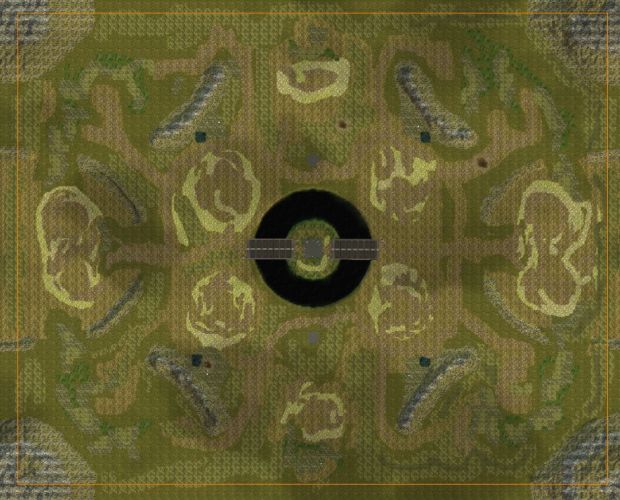
Then go to the top-down view of your map, reset the camera view (default: middle mouse button), and zoom all the way out until all borders are visible:

Take a screenshot (Print Screen or equivalent), open it in an image editor (e.g., Photoshop or GIMP), crop to the map boundaries, flip the image if needed, resize to 256×256 pixels, and save it as a Targa (.tga) file named mapname_art.tga. Place this file in the same folder as your original map.
If you don’t have Photoshop, try free software like GIMP or use an online tool like img2go, or contact support for assistance.
Minimap: done!
Now open the original map (the one used before creating the minimap copy). Go to [Edit] → [Edit Map Settings], add a catchy name, set an appropriate [Weather] (e.g., SUNNY), adjust the [Fog Settings] and [Camera Behavior], then save the map.
Guide by Zypherbullet
- Only one
.mapfile is allowed per upload. - Compressed ZIP files and uncompressed folders are supported.
- The filename could be automatically renamed because of unwanted version naming.
- Ensure all files comply with Kane’s Wrath specifications above.
- If any errors in missing files occur, open the map in Worldbuilder and save it again to generate the required files.
Uploading, please wait…
Edit Map
Change Author
Changing the author will remove your edit permissions and update the custom map’s author name.
I wouldn’t press that button! 😏
